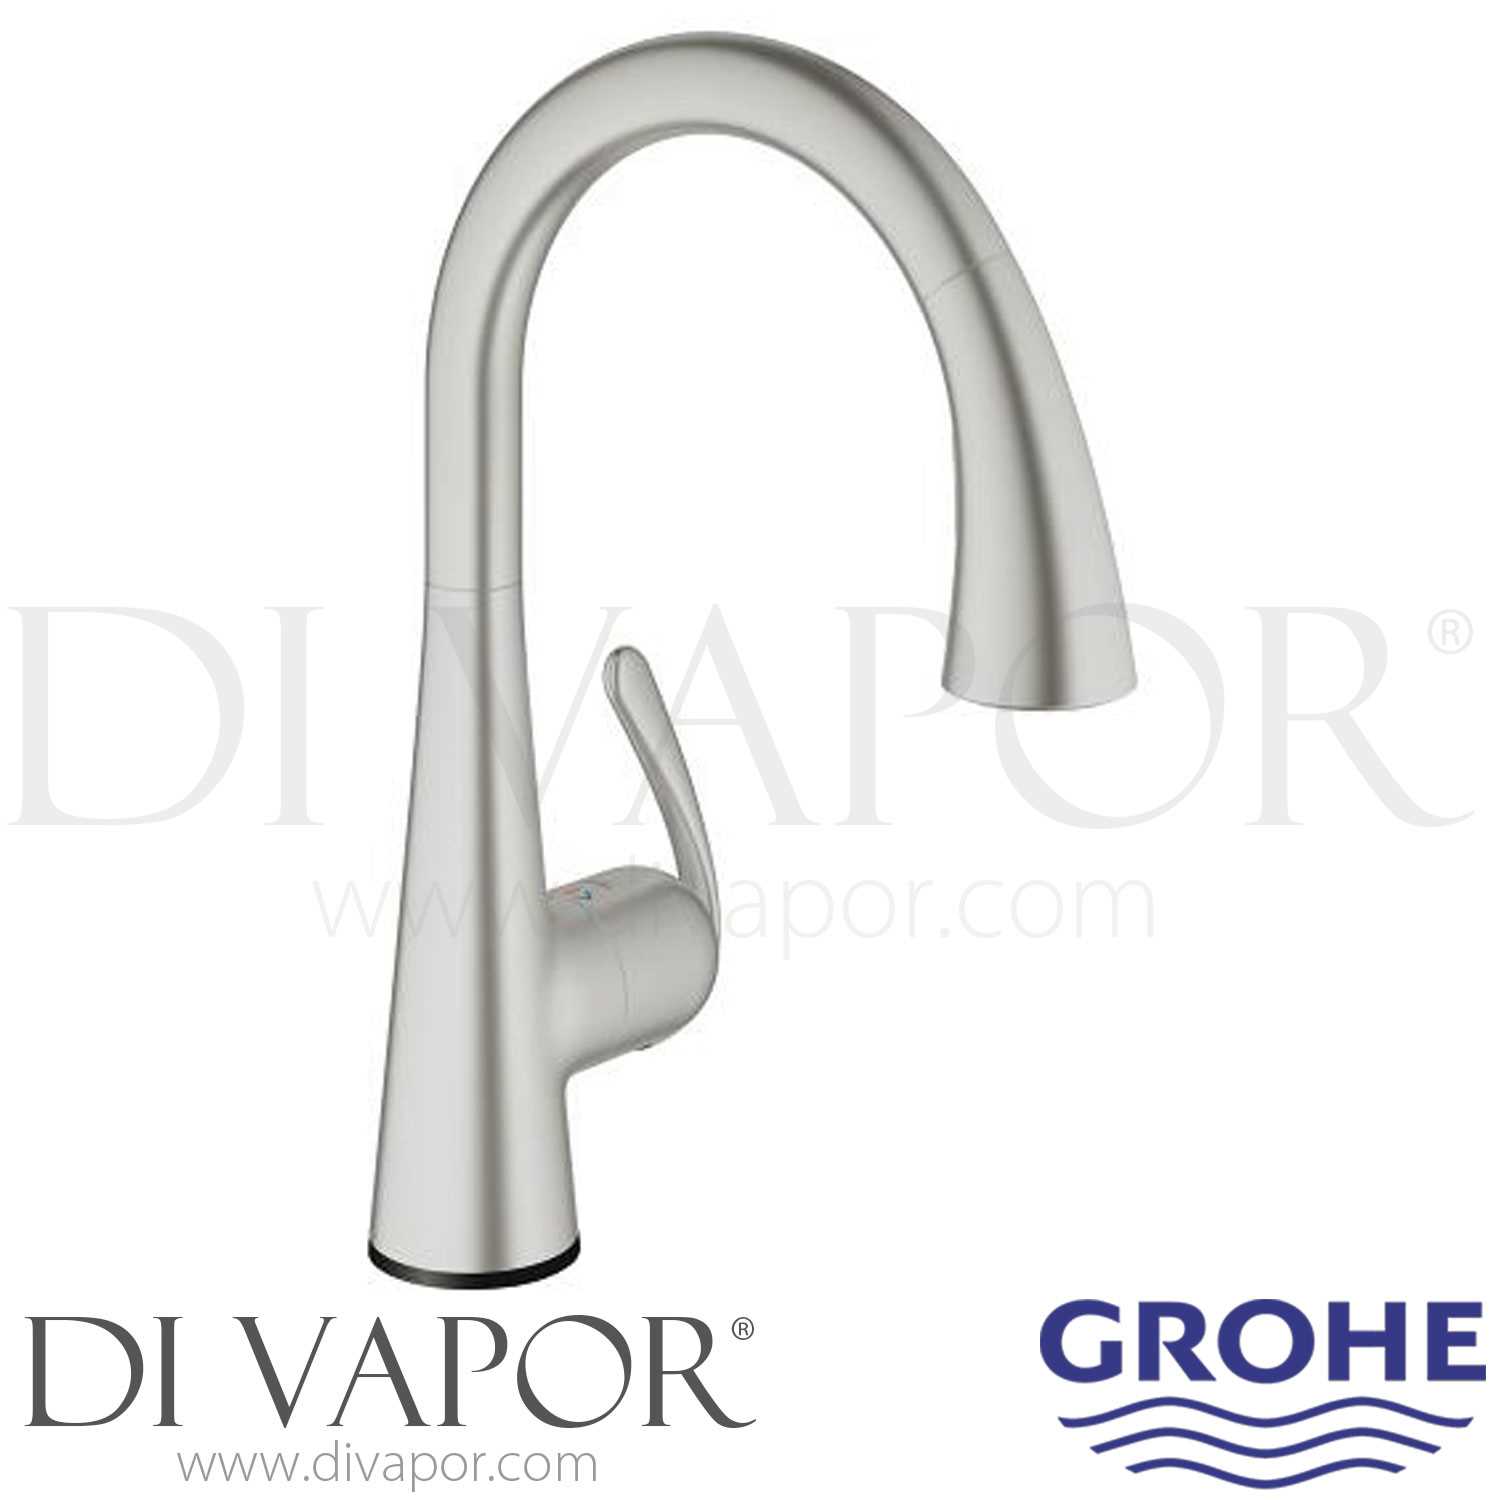
Faucets are essential in every household, offering convenience and functionality. Over time, however, even the highest-quality models can experience wear and tear, requiring some attention. Knowing the individual elements of your faucet can help you identify issues early and take the necessary steps to fix them. Understanding the design of these units makes maintenance and repairs much more manageable.
For those looking to troubleshoot or replace a malfunctioning faucet, having access to a clear, detailed breakdown of its individual pieces is crucial. Whether it’s a minor leak, malfunctioning mechanism, or the need for an upgrade, being familiar with the parts involved can save both time and money. This guide will explore the key components, how to read their layout, and offer some helpful tips for maintaining your faucet in top condition.
Understanding Faucet Components
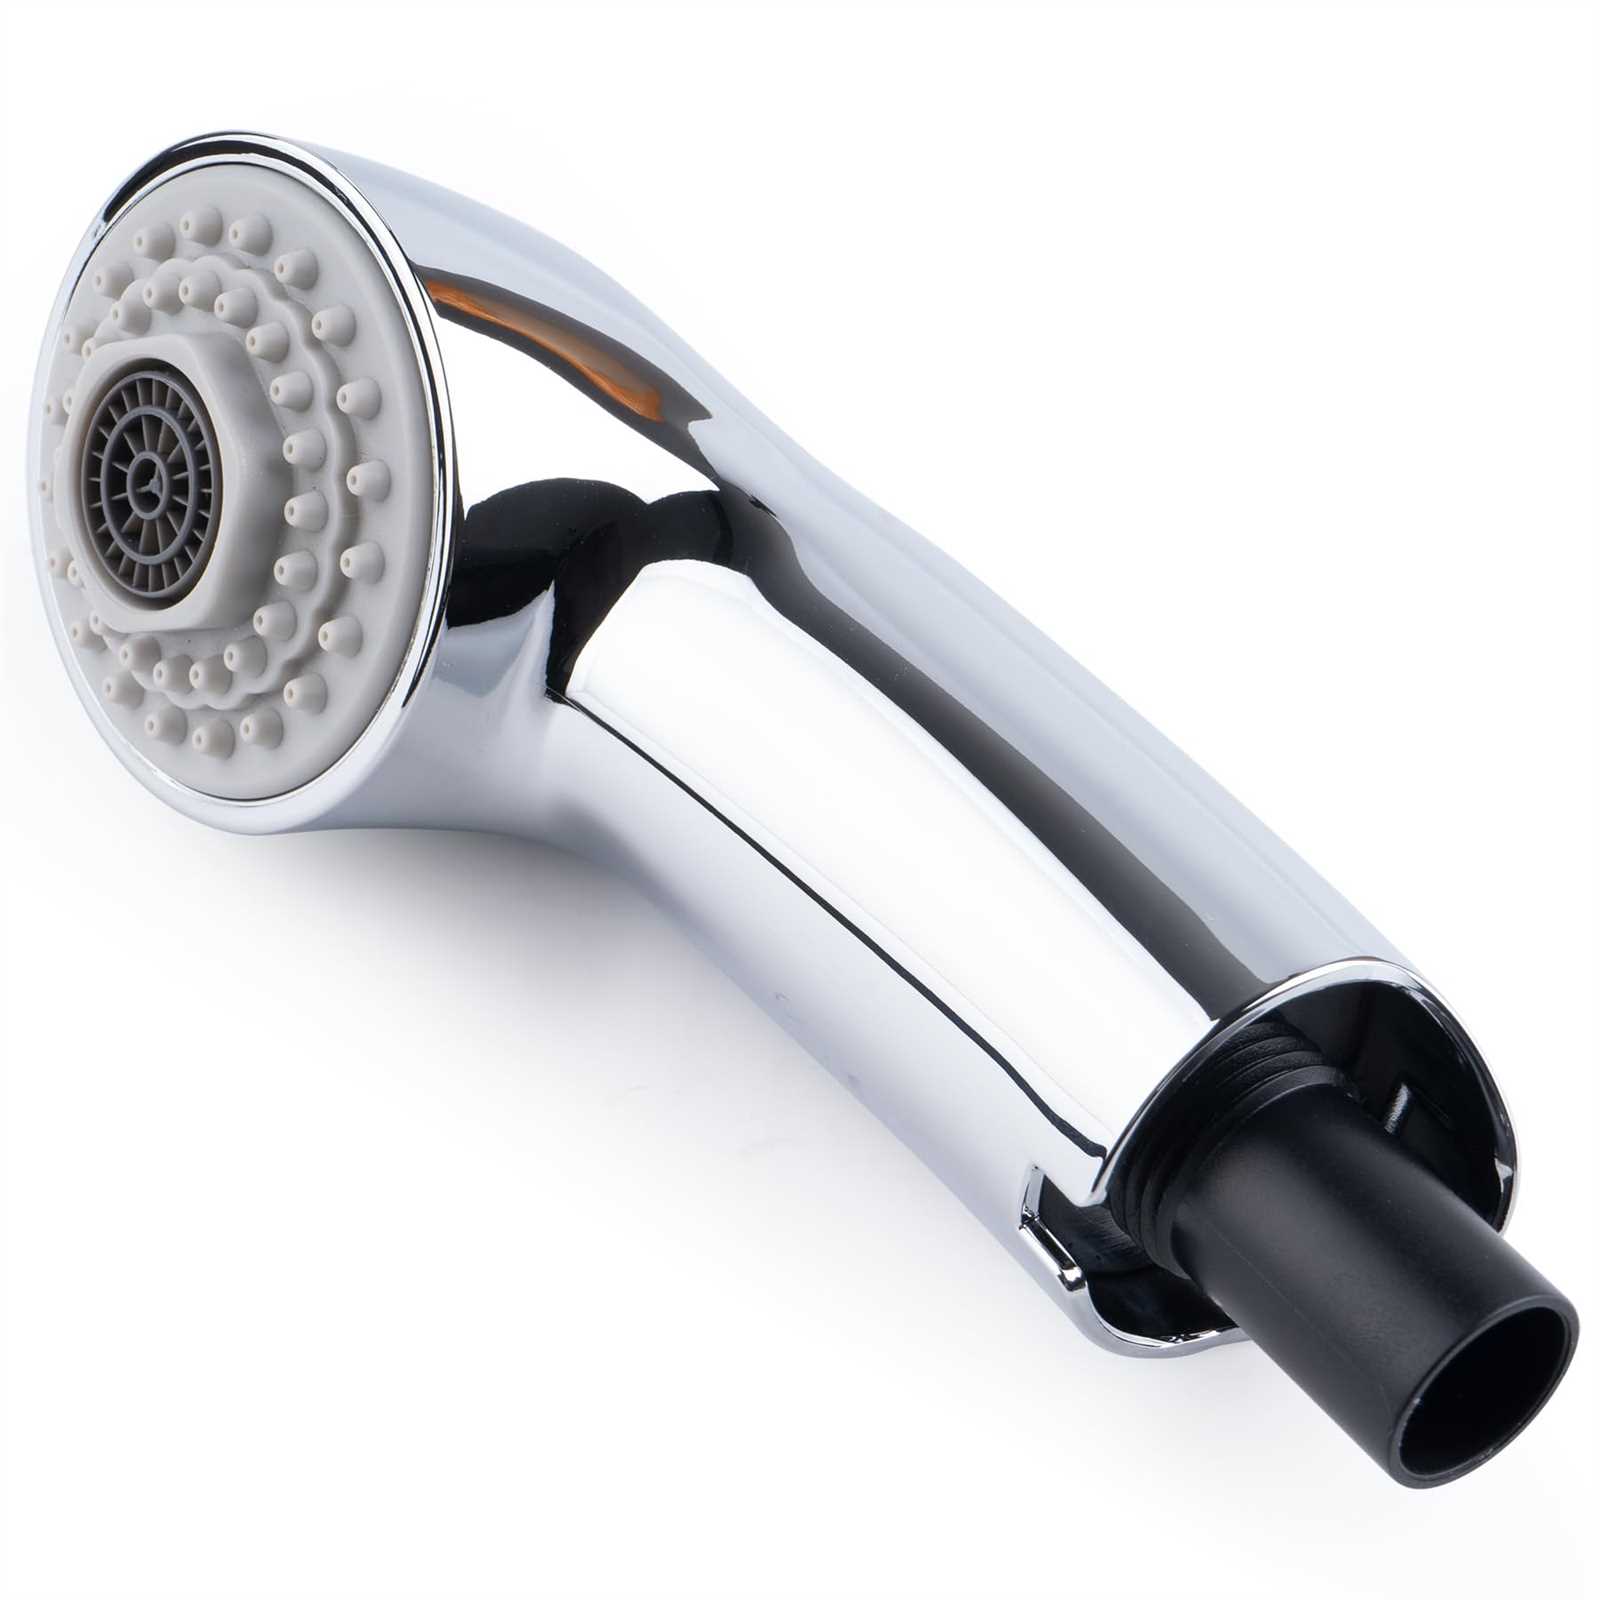
Every faucet is made up of several key elements that work together to ensure smooth operation. Each component plays a specific role in the overall function, from controlling water flow to regulating temperature. Familiarizing yourself with these parts can help in identifying potential issues and determining what needs attention when repairs are required.
The main elements of a faucet include the spout, handle, cartridge, and aerator. The spout directs the water flow, while the handle allows you to control both the volume and temperature. The cartridge, often hidden within the handle, is the heart of the faucet’s functionality, and the aerator ensures water flows evenly without splashing. Understanding how these parts interact is essential for effective troubleshooting and maintenance.
When repairing or replacing components, it is crucial to use the right parts designed for your model to ensure optimal performance. Each piece is designed to work in harmony with the others, so selecting the correct replacement parts is key to maintaining your faucet’s efficiency. Being knowledgeable about the structure of your faucet can make any repair process more straightforward and cost-effective.
How to Read the Parts Diagram
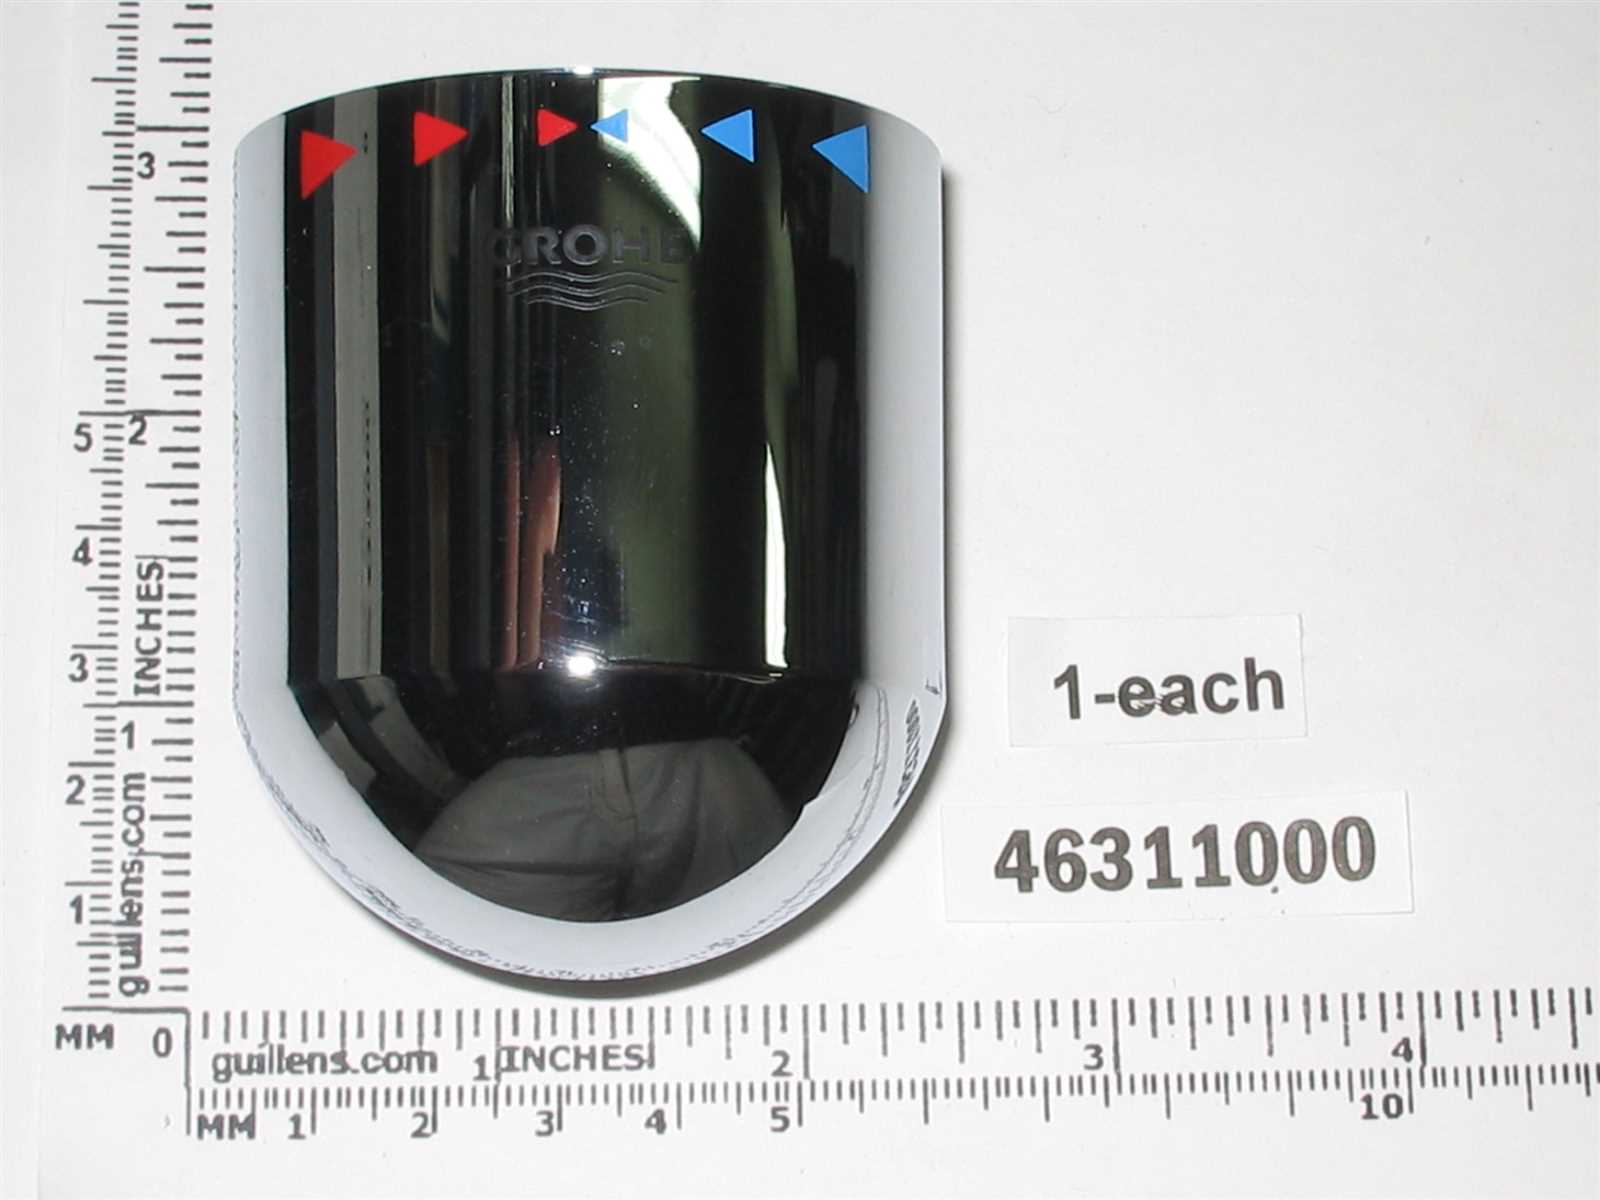
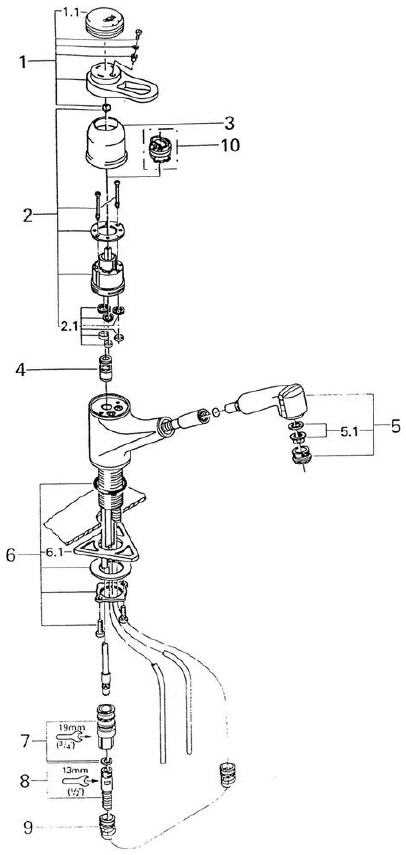
Understanding the visual representation of faucet components is essential for effective repair and maintenance. These illustrations provide a clear layout of each individual element, making it easier to identify the specific part that may need attention. By carefully studying the diagram, you can quickly pinpoint which components correspond to certain issues, allowing for efficient troubleshooting.
When reading a schematic, focus on the labels next to each part. These often include part numbers, which help you find the exact replacement needed. Additionally, arrows or lines might indicate how different elements fit together, giving you a clearer picture of the assembly. It’s important to follow the diagram step by step to ensure each piece is correctly identified and understood in relation to the whole system.
Another key aspect of interpreting these visuals is understanding the different symbols and color codes used. While the diagram itself offers a detailed breakdown, it may also come with a legend or key to explain specific markings. Pay attention to these to avoid confusion and ensure you’re looking at the correct components for your maintenance needs.
Common Repairs for Faucets
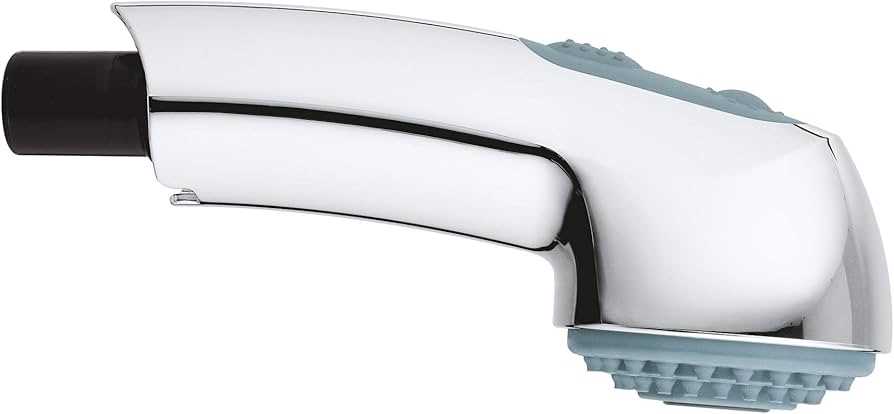
Faucets, despite their durability, can experience common issues over time. Knowing the typical repairs that may be necessary can help prevent costly fixes and extend the life of your fixture. Whether it’s a leaky handle, low water pressure, or a malfunctioning valve, these problems can usually be addressed with the right approach.
Leaky Faucet Handle
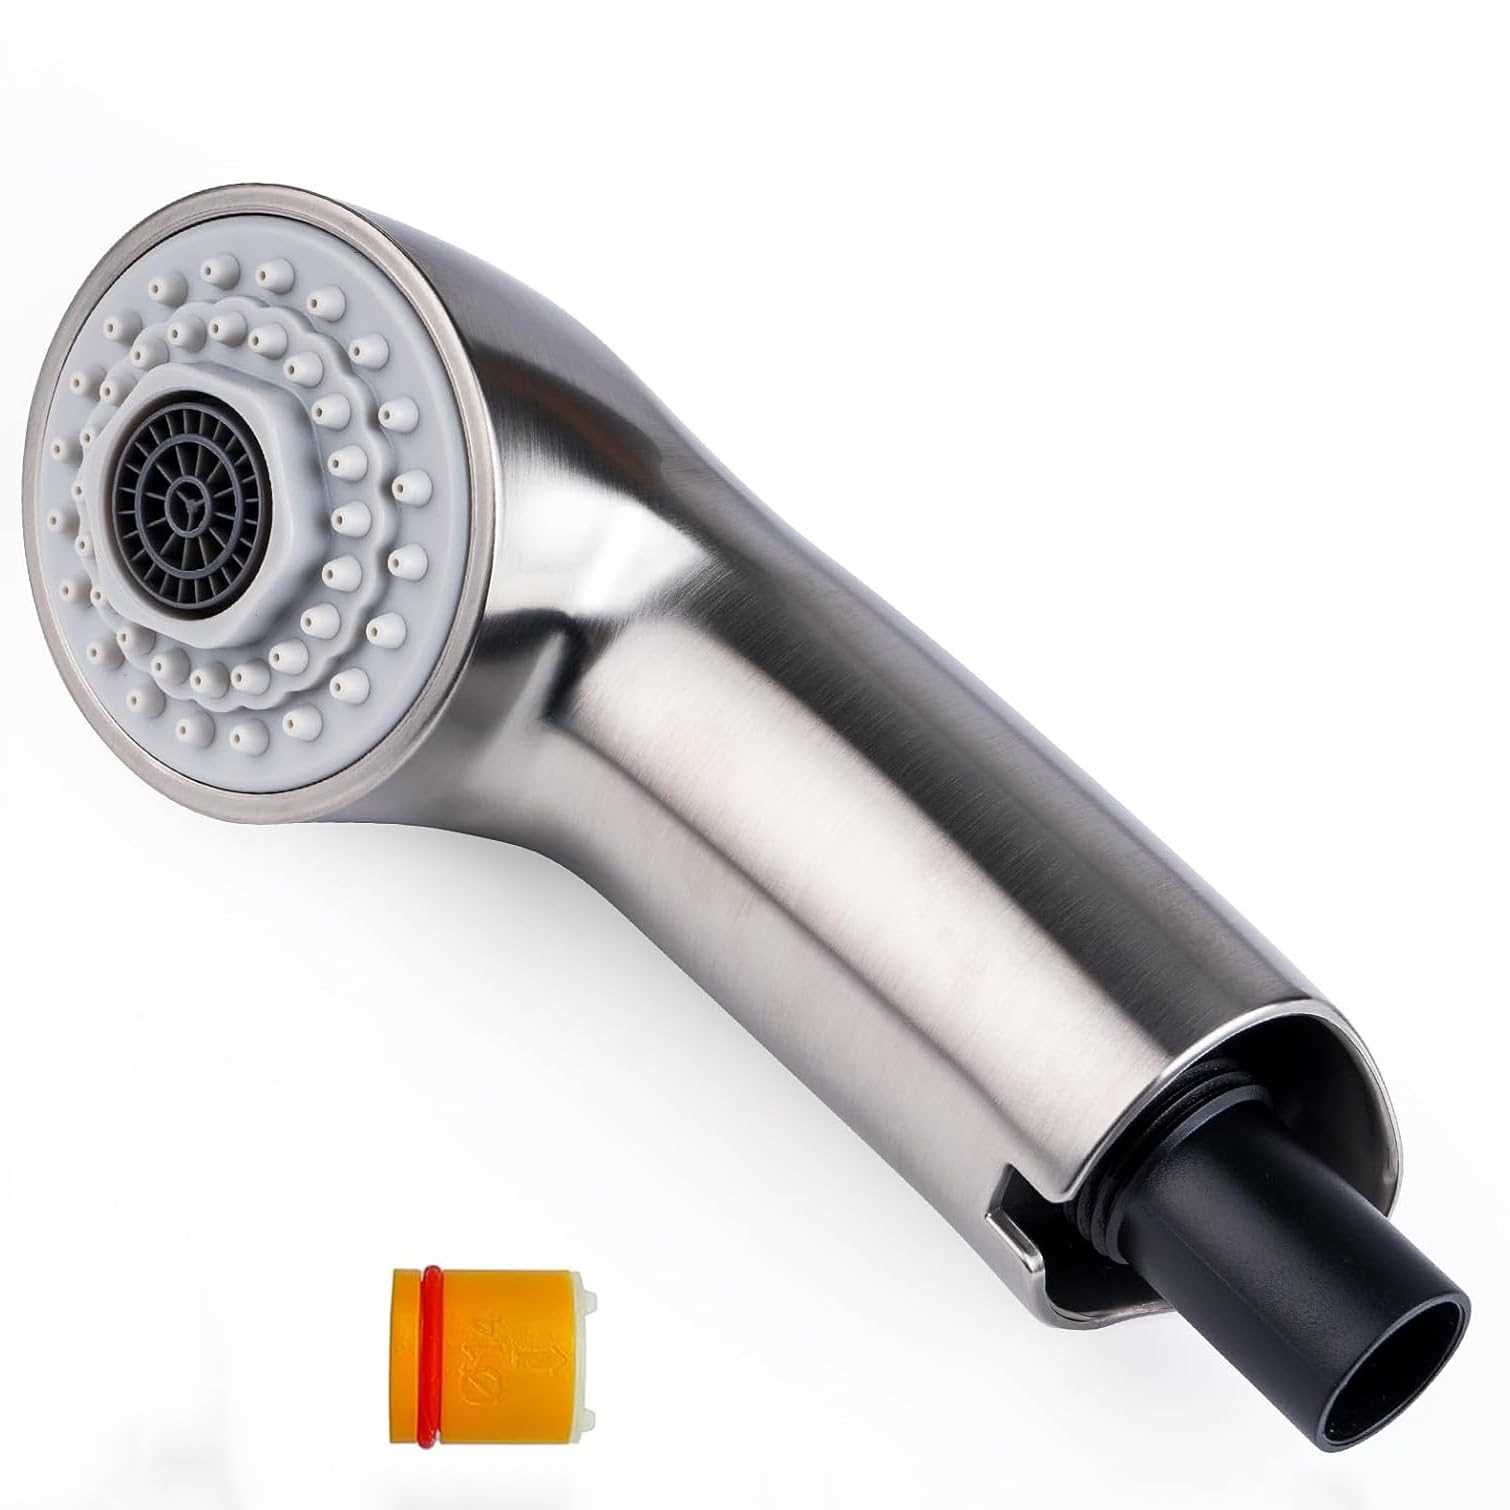
A common issue that many faucet owners face is a dripping or leaking handle. This is often caused by a worn-out washer or faulty cartridge. To resolve this issue, follow these steps:
- Turn off the water supply.
- Remove the handle and inspect the cartridge or washer.
- Replace any damaged or worn-out parts.
- Reassemble the faucet and test for leaks.
Low Water Pressure
If you notice a decrease in water pressure, it might be due to a clogged aerator or a buildup of minerals in the faucet components. Here’s how you can fix this:
- Unscrew the aerator from the spout.
- Soak it in vinegar to dissolve mineral buildup.
- Rinse thoroughly and reattach it to the faucet.
- If the pressure remains low, check for obstructions inside the faucet itself.
Regular maintenance and early identification of issues can save you time and money in the long run. By addressing minor problems promptly, you can keep your faucet working smoothly for years to come.